![]() I created an animated rs feed icon today. I had been searching this for quite some time and now that I have it, I thought of sharing this with my nice visitors – you. You’ll need Illustrator for the first few steps. That is because I’m plain lazy and try to avoid Illustrator as much as I can since a Photoshop fan I am. But if you can do this in Illustrator, you may as well be able to skip this tutorial altogether.
I created an animated rs feed icon today. I had been searching this for quite some time and now that I have it, I thought of sharing this with my nice visitors – you. You’ll need Illustrator for the first few steps. That is because I’m plain lazy and try to avoid Illustrator as much as I can since a Photoshop fan I am. But if you can do this in Illustrator, you may as well be able to skip this tutorial altogether.
- Grab the Feed Icons Developer Kit from Feed Icons. I’m not sure of the license but this is derived from the works of Mozilla. Considering that the developer kit is being distributed, you may as well get into the shoes of a developer and use it.
- Find and open feed-icon.ai in Illustrator.
- Resize it to a square of sides 96px each
- Hide the layers “inner stroke” and “stroke”
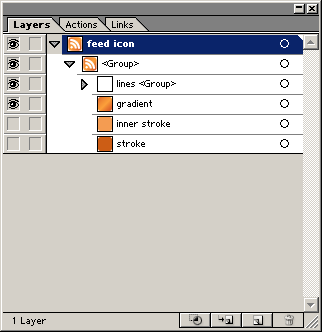
- Export the file as psd making sure you export it as layers. You are done with Illustrator now.
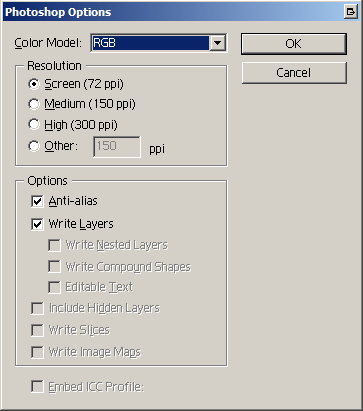
- Blow open the psd you exported into Photoshop.
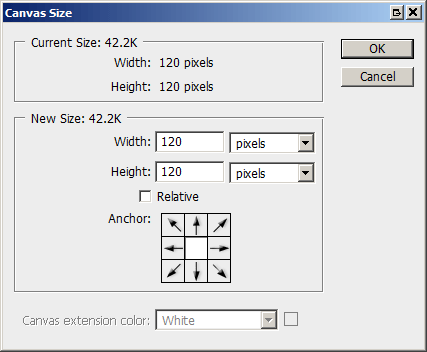
- Resize the canvas to a size of 120px on both sides – we need this space for transforming and drop-shadows.
- With the rectangular marquee tool selected, control-click on the layer bottom most layer named “gradient”. This will select the rounded colored background square. Transform the image by rotating it -10deg.
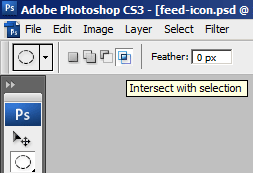
- Select the elliptical marquee tool. Change the mode to “Intersect with selection.” We are trying to create the gloss in the upper half.
- Start creating a selection from point A to point B. When up release the mouse button at point B you’ll have the following selection.
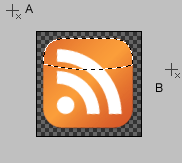
- Hit Shift+Ctrl+N to create a new layer. Right click inside this selection choose “Fill” and fill the selection with white.
- Set the opacity of this layer to 60%. You now have the gloss.

- The gloss will give you an ugly look unless you set a drop shadow at 1px distance with a size of 5px and 50% opacity.
- Select all the layers now (click the bottom most layer named “gradient”, hold down the SHIFT key and click on the top most layer/group). Go to Edit > Free transform and apply a rotation of -10deg. We now have an impressive angle to the icon.

- Animation is the tricky part and mostly will depend on your personal experimentation. If the animation window is not showing go to Window > (check) Animation. The pane works pretty much like the layers pane. Don’t panic – it’s all English.
- You’ll right now only have one frame. Duplicate this frame five times (you’ll now have six frames).
- Select the last 5 frames and hide the two layers containing the quarter circles. Only the dot part should show.
- In frame 2 (select it) set the opacity of the dot to 20%, in the second set it to 40%, 60% for frame 4, 80% for 5, 100% for frame 6.

- Duplicate the last frame 10 times. Select these 10 new frames and unhide the middle quarter circle. In these duplicated frames, in the first frame the opacity of the middle quarter circle whould be 10% and slowly increase by 10% at each step to 100% in the last one.
- Do the previous step for the outermost quarter circle.
- Set the Frame Delay of the first frame to 4 seconds. This will make sure that the icon displays full when the site loads and starts animating 4 seconds after the site is completely loaded. Also continuous animation will be distracting to your visitors so a pause of 4 seconds at every cycle is just right and aptly subtle.
- Try and experiment with various combinations till you are satisfied. You can preview the animation by clicking the play button at the bottom of the animation window.

- As a last step here’s the psd for you to download just in case you chose to be lazy :). If you use this psd or derivative images on your site, I’d appreciate if you link to my site or provide credit, but that’s purely optional. Click here to download the PSD feed-icon.
I love comments and I appreciate diggs so if you’d be kind enough 🙂
