 Going through our way on icon finder, we were impressed by the beautiful icons available there, especially the twitter icons — with smart twitter t’s and cute twitter birds and a lot of creative stuff with Twitter t on coffee-mugs, price tags, classroom blackboard and so on. So, we picked some of the best twitter icons from there and clubbed them with a grungy look in Photoshop to create a set of 5 ready-to-use stylistic grungy style twitter icons. Here is a glimpse of how the twitter icon set looks:
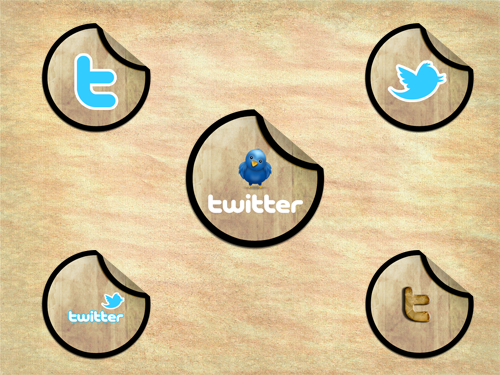
Are you ready to replicate this effect in Photoshop. Here are quick steps to help you design the stylish twitter icon in Photoshop. This twitter icon is quite flexible. You can get started with this simple icon and alter it to as per your need and create a beautiful effect just like this one. Here is how the final icon looks like.
![]()
Let’s follow the steps.
Step 1: Create a new document in Photoshop and set its dimensions as:
- Width: 512 px
- Height: 512px
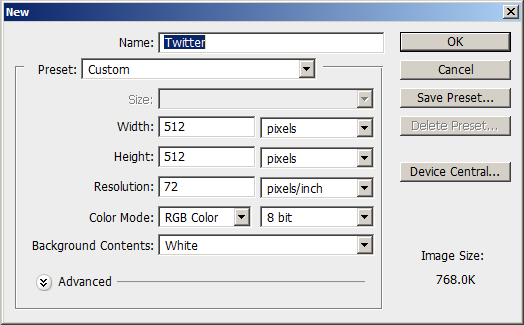
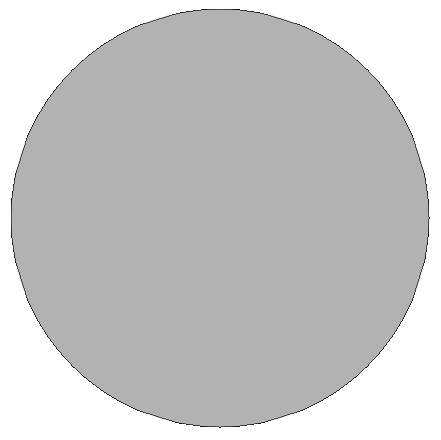
Step 2: Draw a circle using Ellipse (U) shape tool. Set foreground color to #b2b2b2. Hold shift and click to draw a circle.
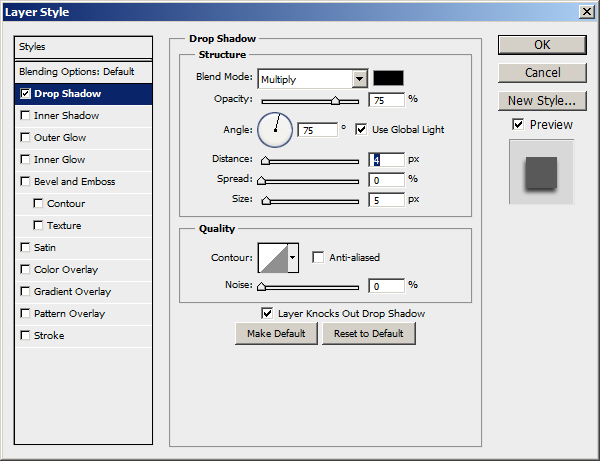
Step 3: Now add drop shadow to the circle — Shape 1 layer. Navigate to Layer > Layer Style > Drop Shadow and apply the drop shadow with following settings:
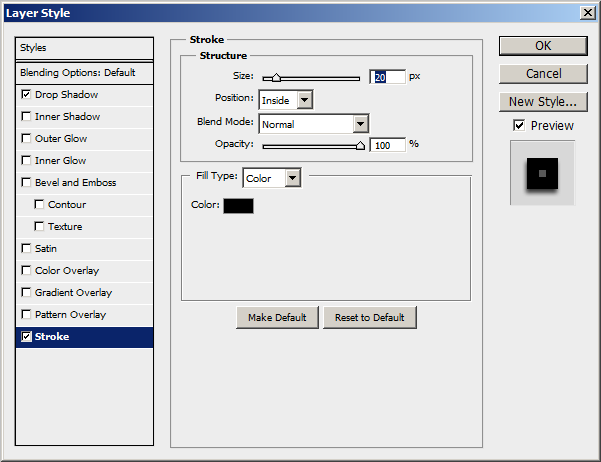
Step 4: Now add Stroke to the Shape 1 layer. Go to Layer > Layer Style > Stroke and apply the stroke as per the settings in the image below.
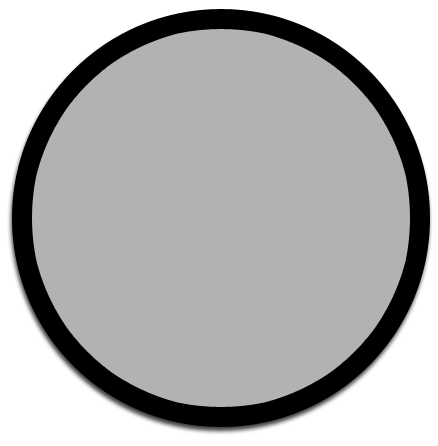
You will get something like this after applying drop shadow and stroke:
Step 5: Duplicate Shape 1 layer by pressing Ctrl + J. This will create a new layer by the name Shape 1 copy. Leave it as it is.
Step 6: Select Shape 1 layer from the Layers palette. Right click on the small “fx” icon at the end of circle (Shape 1 layer) and choose Create Layers.
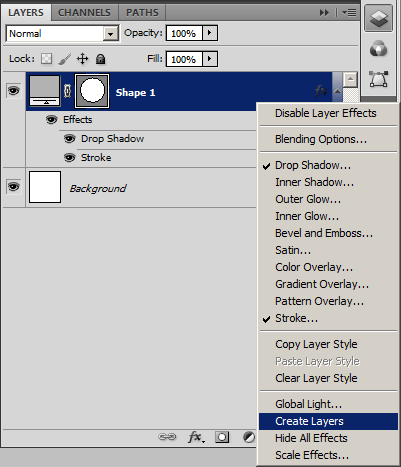
The above step will create separate layers for style applied on the Shape 1 layer while retaining the original layer. Here are the resulting layers, as you will notice in your layers palette.
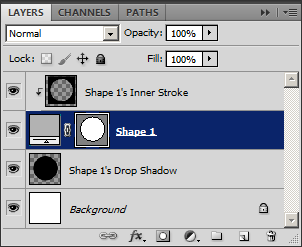
Step 7: Select the duplicate layer (Shape 1 copy) created in step 5. Select the Move tool and move this layer to the top right corner of Shape 1 layer as shown below.
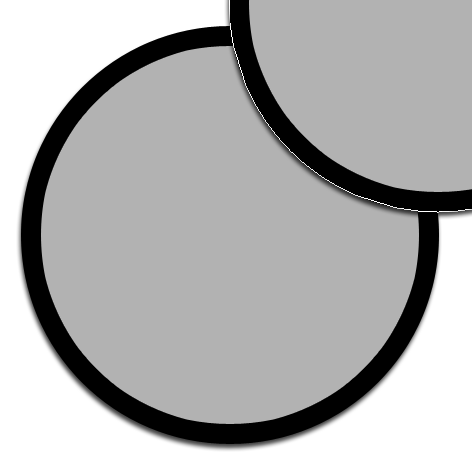
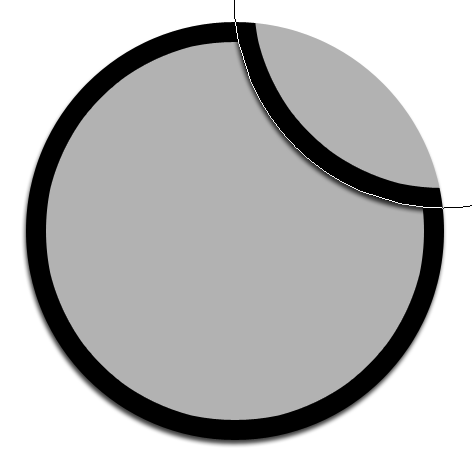
Step 8: Go to Layer > Create Clipping Mask. As you do so, you will notice that the excess of second circle placed at the top-right corner is clipped to fit inside first circle.
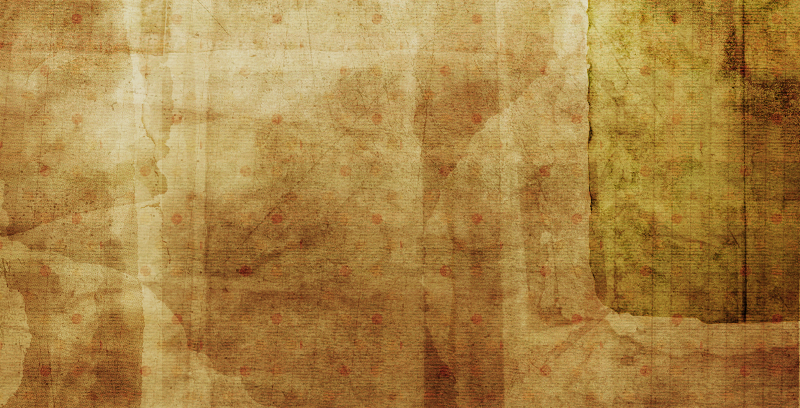
Step 9: We need to give a grungy look to the circle. For that we will download a texture. You can download paper grunge texture or any other texture from here. Drag and drop the texture on your PSD and transform its size as per your document. Make sure, the texture is placed above all the layers in Layer Palette. Change its blend mode to Overlay.
The texture used for this design looks like this. Download it here.
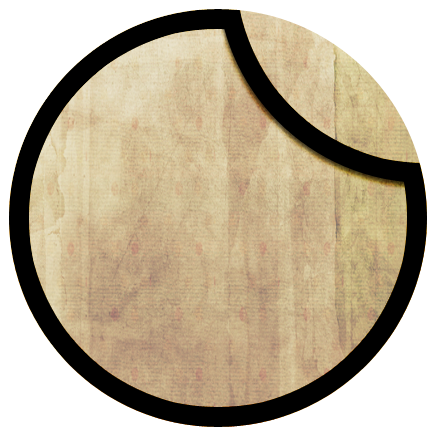
Step 10: Now we need to clip the texture to show only within the circle. Go to Layer > Create Clipping Mask go get something like this:
Step 11: Next, create a new layer, let its name be Layer 1 and apply gradient to it as in the image below. Select the Gradient (G) tool and draw a white to black gradient in the top-right corner.

Then select Layer 1 and change its blending mode to Multiply. Now your image will look like this.
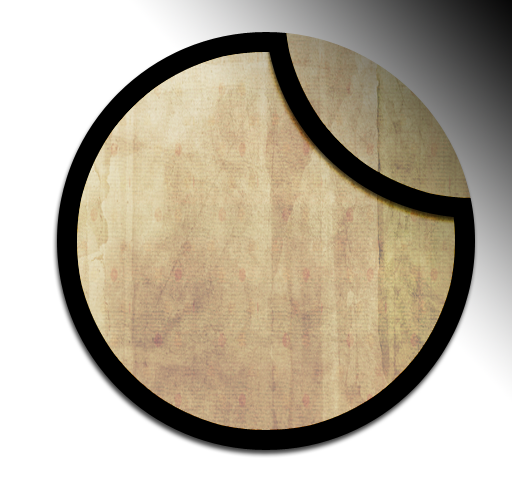
Step 12: Now, clip Layer 1 to get the following effect. Select Layer 1 and go to Layer > Create Clipping Mask to clip this layer.
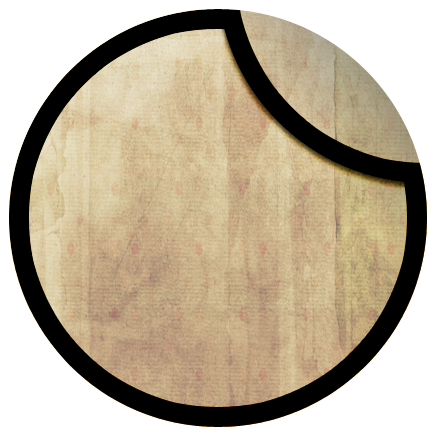
Step 13: Now group the layers except background layer (select all the layers and press Ctrl + G) and name the group as Icon.
Step 14: Now we will give this circle, the folding paper look. Select Polygonal Lasso Tool (L) and make the selection as below:
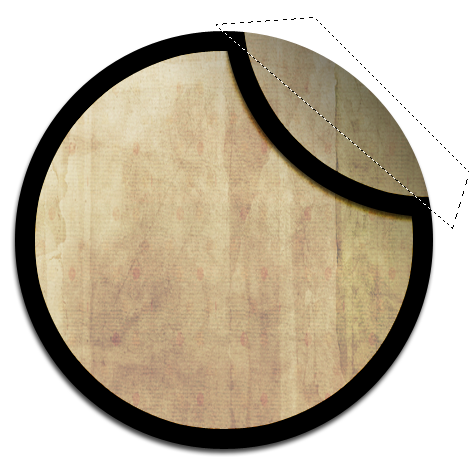
Step 15: Now press Ctrl + Shift + I to reverse the selection and then add layer mask to this layer (click Add Layer Mask icon at the bottom of Layer Palette). When you do so, the unselected areas of the layer are hidden, thus simulating a folded paper look.
![]()
Step 16:  Next, we need a twitter logo to complete this design. You can however add facebook, rss, stumble upon or any other social media icon or can also have your company’s logo as well. You can download twitter logo from Twitter’s official site or find one at icon finder. We are using Full Twitter logo for light backgrounds image from Twitter resources and have cropped the image to extract Twitter t.
Step 17: Select the logo you want to use in the design and drag it to your Twitter icon psd and place it in the center of the circle.
Step 18: Now let’s add some style to twitter icon to make it stand out distinctly. For instance add Stroke, right-click the layer and select Blending Options. Apply stroke with following settings:
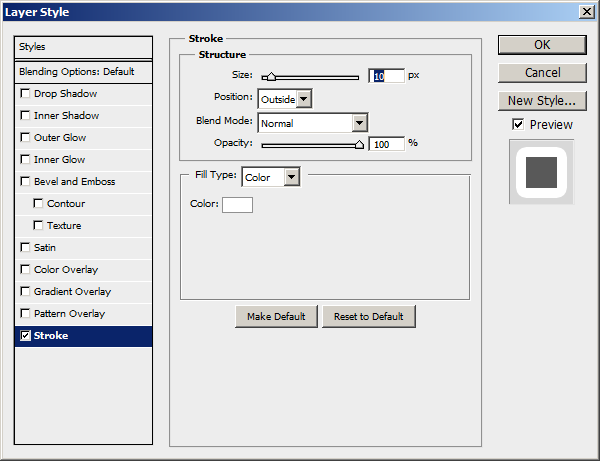
And here is the final image.

Step 19: We are almost done. Trim the empty spaces around the icon (select Image > Trim) and use the settings in the following image and click OK.
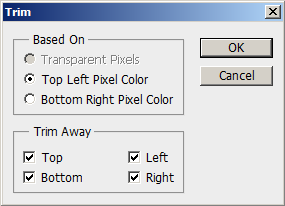
Step 20: Finally, we are on the last step. Disable Background Layer to make a transparent logo.

Now that the psd is ready, you can save it as a png and use it on your website. Or you can download ready-to-use psd here.
